I’ve been in contact with the MESS project for a few years already, so it is a bit hard to decide which specific emulated device should I talk about first when starting this new blog. It seems to me that the best way to start would be perhaps by talking about the way I first got in contact with the project.
Back in 2010 I was, for some reason I can’t remember anymore, starting to get interested in emulation. It is probably related to the fact I had been hanging out with Ricardo Bittencourt (a.k.a. RicBit) at the university laboratory. RicBit is the author of a famous MSX emulator called BrMSX. It was fully implemented in x86 assembly language, which is quite impressive. The source code is listed here (I wish it had a free software license attached to it… :-D).
So, I started wondering whether it would be possible for me to be part of the emulation community by writting my own emulator. It was just not clear to me back then what was yet left to be emulated. (nowadays I know the answer is: “a whole lot of stuff !”) I tried to map all of the video-game consoles I had been in contact with since childhood and it seemed to me that everything was already emulated, so it was a bit frustrating at first to think about it.
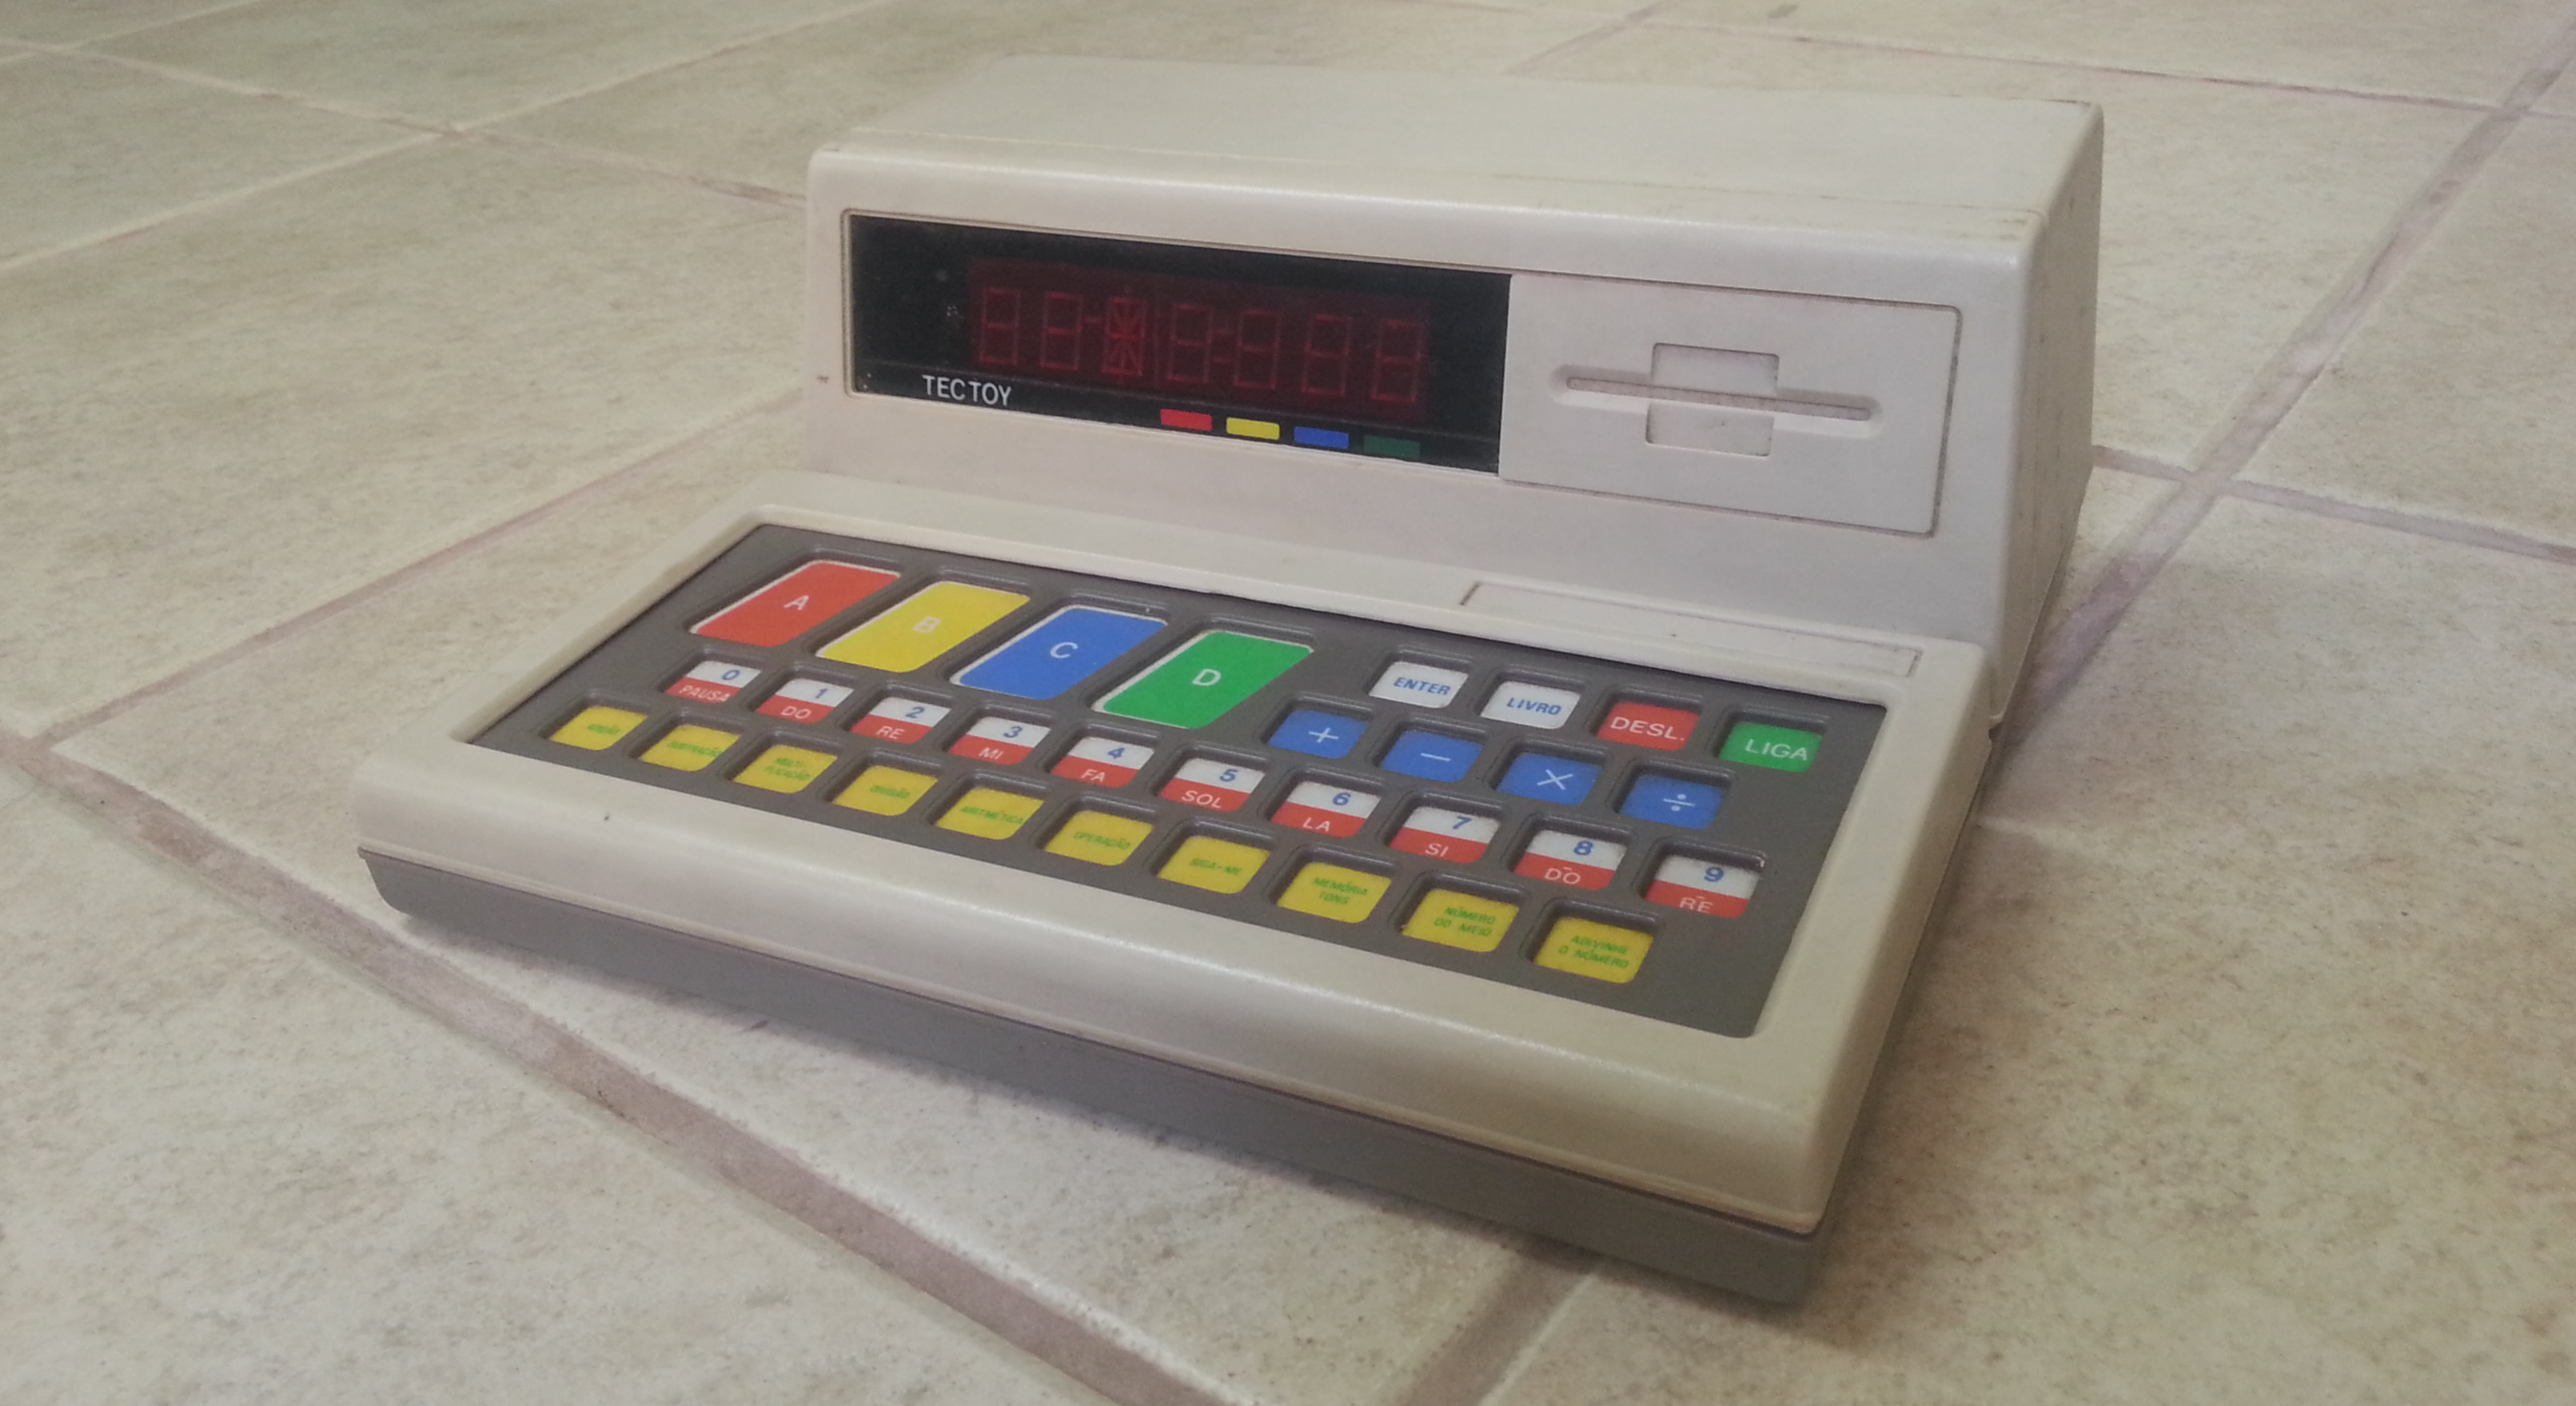
But then I remembered this old children toy called PenseBem (which later I figured out was called SmartStart in the US). Here in Brazil it was manufactured by TecToy. By the way, the expression “pense bem”, in portuguese means something like “think carefully”, instead of “smart start”.
I checked out the MAME source code, started looking at it and learning how it works and wondered how could I adapt it to emulate the PenseBem toy. Then a friend told me about MESS and why it was better suited to my purpose, i.e. emulating something that is not an arcade game.
About one year later, while spending a weekend at the local hackerspace (Garoa Hacker Clube, in São Paulo, Brazil), me and my friend Leandro Pereira decided to resume the project and we finaly disassembled a unit of this toy that had surfaced in the hackerspace pile of random electronics stuff.
PenseBem PCB
When we opened it we faced a very simple circuit. The most proeminent component was a Z8 microcontroller. I was used to Z80 assembly coding (because of the MSX computer I had when I was a child and also due to some optimization work of typography rendering we were doing at the lab at the university) so I was excited to take a look at the firmware disassembly of the toy. I was expecting that the Z8 code would probably look similar to the Z80 routines I was used to.
Unfortunatelly, we couldn’t figure out a way to dump the device. We did not find an exact datasheet for that part number (Z0860008SC), and while looking at Zilog documentation for other similar Z8-based chips, we could not find a way to dump it. Apparently the internal memory containing the firmware is written at the factory and not meant to be neigther updated nor dumped. My guess is that there are not even data/address lines tied to pins in the chip DIP28 packaging.
Z8 Microcontroller used in PenseBem
Since it seemed impossible to dump the firmware (without nitric acid :-P) it meant real emulation would not be possible. So we decided to at least simulate the device by reimplementing its functionality, based on our observations. There was some reverse engineering effort already done by Eduardo Habkost, who mapped the overall behaviour of the random number generator used by the toy to generate the list of correct answers to the questionnaires that were employed in the toy.
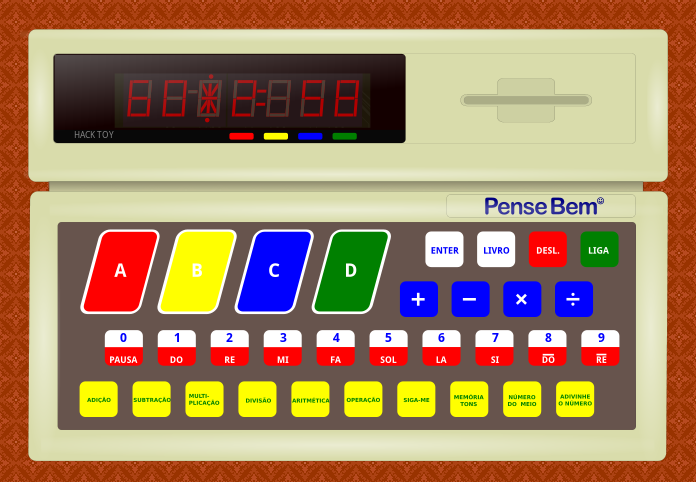
Based on Eduardo’s findings we started working on a javascript implementation of the simulator. I was deeply involved in the Inkscape development team, so SVG was my natural choice for creating the graphical interface. The SVG file contained the artistic representation of the PenseBem/SmartStart console. It also had javascript event handlers attached to certain vector objects so that when you open the SVG file in a modern web-browser you can actually interact with it. Javascript is used to implement the actual behaviour. Visual feedback is provided by changing the color of the 14-segment display segments. We used the HTML5 audio element and API to programmatically generate the square wave tones.
In the website we have some more technical info on the project, but I pretty much cover the most important aspects here. I still hope that someday we’ll find a way to properlly dump the Z8 microcontroller. Leandro even dropped one of these to a fellow hacker in a conference in Europe a couple years ago in the hope he would try the nitric acid approach he’s supposedly skilled at. But surely he’s got priorities on which chip to decap next, so an obscure children toy from the eighties may not be in the top of his TO-DO list…
I have seen a few devices in the MESS source code that use a Z8 chip, so I guess someone may already master the technique of dumping these without the need of chip decapping. It would be great to have some input from the community on that.
Happy hacking, Felipe Sanches
PS: On my next posts I plan to talk about devices I was able to actually emulate as part of my first contributions to the MESS project.
One thought on “PenseBem / SmartStart”
Muito obrigado por todo o seu esforço em reviver um brinquedo que marcou muito a minha infância!


Muito obrigado por todo o seu esforço em reviver um brinquedo que marcou muito a minha infância!
Muito obrigado mesmo!!!