Back in 2013, for approximately 6 months I organized weekly meetings at the local hackerspace (Garoa Hacker Clube) called Retro-coding Workshops – in Brazilian Portuguese, “Oficinas de Retroprogramação”. It all started when I decided to dedicate some ammount of time each week to study reverse engineering of digital electronics devices. And I decided to do it at the hackerspace instead of at my home, because if anyone got interested in learning this kind of stuff, it would be a good opportunity of sharing the knowledge. And if no-one showed up, I would be dealing with the subject anyway. One or two people actually got interested and started to show up weekly for the workshop and we got a good vibe and the workshops lasted several months!
Naturally, MAME (and back then MESS) was a recurring topic on those workshops, both as a tool and also as an educational asset. The source code of these emulators are effectively unofficial documentation of the inner workings of the emulated devices (both arcade games and also all sorts of other electronic equipment) and this enables a programmer to learn how to develop software targeting those specific boards.
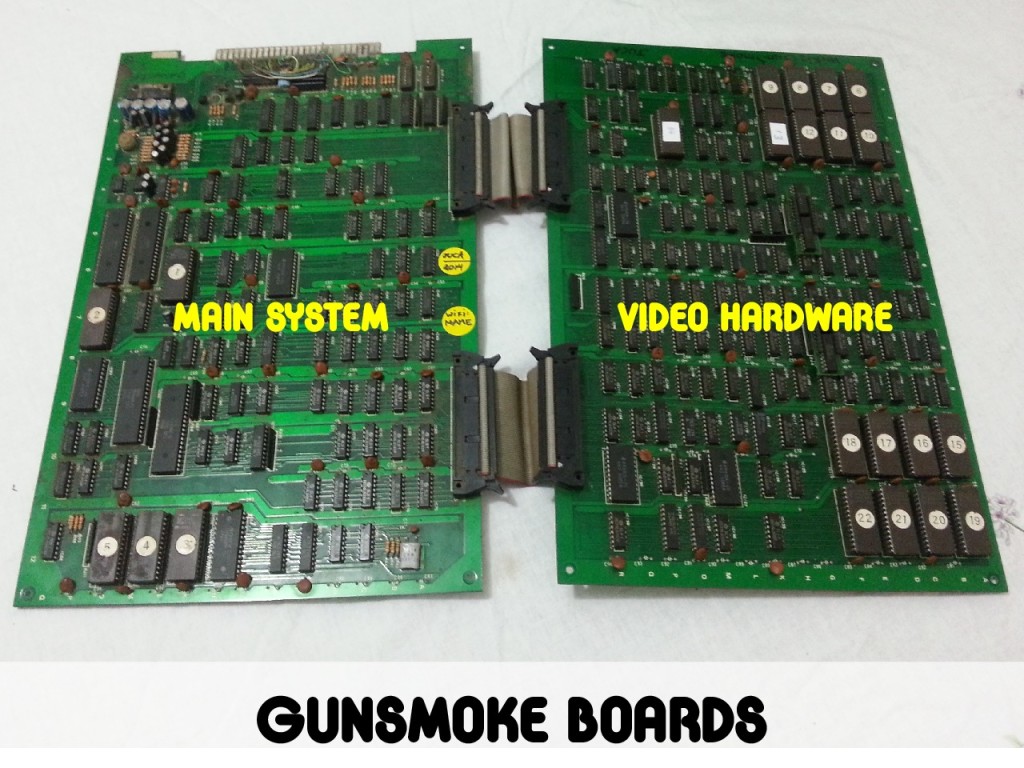
As I wanted to learn more about digital electronics design and emulation techniques, I decided to buy an arcade board which already had good emulation in MAME. So I ordered on MercadoLivre (a website that’s similar to eBay) a 1985 CAPCOM GunSmoke arcade board.
By reading the GunSmoke driver source code while simultaneously inspecting the PCB circuits with a multimeter’s continuity test mode I was able to understand both the TTL logic circuitry as well as the emulation framework employed by MAME. And with that I also grasped how one was supposed to code a game targeting that specific board.
In order to demonstrate that I had understood at least the basics of how it worked I decided to implement a proof-of-concept. I wrote a tiny (and incomplete) “snake” clone but using a pixelated alligator as the game character.
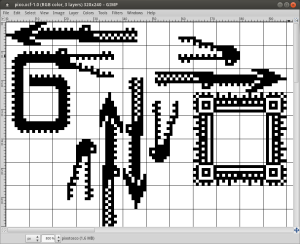
Pixotosco is a character created by the Brazilian grafitti artist Tony de Marco, who’s also a close friend and a mamber of the hackerspace. One can find Pixotosco in many walls of São Paulo, Brazil. It’s sort of an alligator with a very long and pixelated body. It’s made of rectangular shapes that reminds us of pixels, but it’s actually curvy with its body swinging along the walls.
I recorded a video of the proof of concept and published it on YouTube. Bear in mind that this is really just a proof-of-concept and probably will never really become a full game.
There’s no collision detection, so the alligator can safely cross its own tail. It can even walk past screen borders! When moving to the top, it shows up in the bottom, which reflects the video memory layout and reminds of the fact that the monitor is in a 90 degrees orientation with the scanlines (and video memory addressing) along vertical lines.
Another glitch can be seen when the alligator moves to the right, effectively trying to draw chars outside of the char-tile RAM region. The next region of video RAM is dedicated to per-char palette selection. The side effect is that we see the alligator tail changing color, but also some garbage showing up in some places. The reason for that is because the clean screen routine does not really clean the garbage, but only selects a fully transparent palette for all chars on the screen. Perhaps I should have implemented it differently. But then I would not have had the opportunity of explain this here… 😉
Main source code is written in C and cross-compiled targeting the Zilog Z80 CPU (a classic from the 80s). The bootloader had to be entirely written in Z80 assembly language, but it is a rather short and simple piece of code that only serves the purpose of setting up a minimal C runtime for the rest of the code. All graphics assets were drawn on GIMP and automatically converted to the specific char-tile data format used by the video circuitry of this PCB. The image data conversion is actually performed by a helper tool that I implemented in C. There’s also the need to generate palette-ROM binaries with the colors we want the images to be displayed with. The several binary files that are output by the build system (with a nice Makefile) are loaded into MAME where I can test it and validate if it’s looking and playing good.
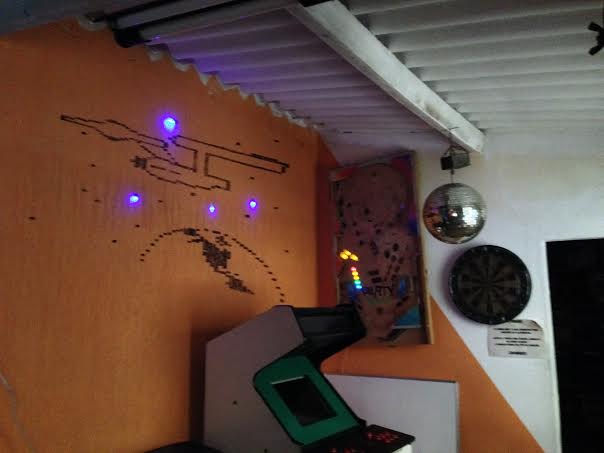
Once I got it working on the emulator, I used my universal programmer and burned the data into actual EPROM chips and placed them in the original arcade board. In the mean time I bought myself an arcade cabinet and was able to play my proof-of-concept in the original GunSmoke board. It was a pretty exciting moment!
All of the source code is published on this github repo.
Happy Hacking,
Felipe “Juca” Sanches


Nice one 🙂
I want to make a small game for an arcade pcb too..