MESS how to, episode II: Apple Macintosh Plus
This time I want to talk a bit about Macintosh Plus emulation in MESS. Do you know this machine? If not, time to fill the gap in your computer history preparation: pages at Wikipedia and at old-computers.com.
My interest on the system first surfaced in Summer 2008, when I spent some days trying to figure out how to make this system work and run some good old Apple software. Unfortunately, I had to give up due to some serious crash in MESS, when turning off the emulated machine after OS installation. Given that the bug has been fixed last October (thanks Arbee), I really wanted to give another chance to this old Apple system and the following impressions/instructions/remarks are the result :).
Before starting, I need a disclaimer:
DISCLAIMERS:
1. the following instructions are targeted on emulating a Macintosh Plus in MESS, only assuming you can use StuffIt 4.0.1 on the emulated macplus. They represent the best way I have been able to find to set up MESS for this driver, but there might be easier ways: please, let me know if you find ways to simplify some of the necessary tasks below, and I will update my notes accordingly 🙂
Also, I think the same instructions apply as well if you want to emulate later mac machines in MESS, but there might be shortcuts compared to what I have written here.
2. while the IBM PC Jr. howto was an easy and OS-independent guide (i.e. you can follow the same steps with MESS on Windows, on MacOSX or on Linux without a single change), this howto is definitely more complicate because files for Macintosh are not very happy to be used in Windows (nor in latest Mac OSX, fwiw), and therefore you will need to dirt your hands with file manipulation outside the emulator.
3. the guide below would not have been possible without Anna Wu‘s assistance (thanks a lot) and without the wonderful Mini vMac set up page. Any mistake, on the other hand, is definitely my fault.
Ok, we are now ready to start the proper how-to. First of all, let’s run
mess macplus -listmedia
to see which media are emulated for this system: there are two floppy drives (“floppydisk1 (flop1)” & “floppydisk2 (flop2)“) and two hard disks (“harddisk1 (hard1)” & “harddisk2 (hard2)“)! good to know!
Let’s try to fire up emulation as we did with the Macintosh Plus, then:
mess macplus
mmm… waiting…
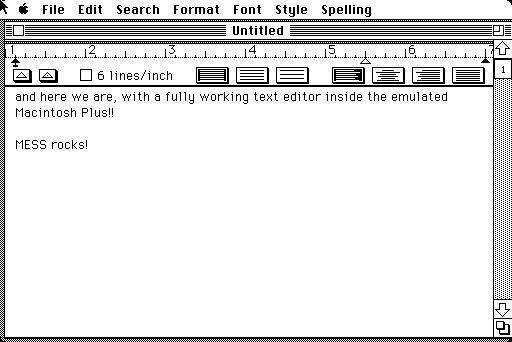
what? where is the BASIC prompt? ow, right, we are not anymore in early 80s with this machine: we have to install an OS to be able to play with this system… at least, this will mean that we will be rewarded with a flashing graphical environment once we are done 😉
Therefore, we now start a more technical section, to answer to the question:
1. How to install the OS?
1.1 We need the OS!
Luckily, Apple still offers its old OSes, so we can simply go at Apple’s System6.0.x page and fine the files we need. Ok, but which files we need? Here, unfortunately, things start to be messy…
First of all, MESS currently only supports 400k and 800k floppy disks. Therefore, we can forget about the two System 6.0.8 1.4MB disks.
This leaves SSW_6.0.3, SSW_6.0.5 and SSW_6.0.8 (in 4 800k images). These files corresponds to Install Disks (to use modern terms) of System 6.0.3, 6.0.5 and 6.0.8, respectively. All of them work perfectly fine for our goal (but read until the end of this section before choosing which one you want to download, depending on the OS you are using). But, when you download them, you will notice that they are in .sea.bin format… and Windows does not know how to handle them!
The good news is that, if you are using MacOSX, you can simply open the files with Command + O and they will decompress (since they are Mac Binaries). At the end, you must simply add the .image extension to the four 800KB disks, if they don’t have it already.
If you are using Windows, on the other hand, then you must use an external program to decompress the System Disks into something you can actually use. The best choice is StuffIt, and I personally suggest StuffIt 9 (that can be downloaded from the Mini vMac setup page). Once you have installed this program on your Windows PC, then you will be able to decompress the System disks… almost…
In fact, it turns out that both 6.0.3 and 6.0.5 disks will decompress perfectly, if you decompress them twice, and will result in 4 .image files around 800KB as expected (System Tools, Utilities 1, Utilities 2 and Printer Tools), but 6.0.8 disks will remain around 400KB and if you try to decompress them once more, StuffIt will complain about “Unrecognized Format”.
Given that the 1.4MB images decompress fine, I think the problem is in the images themselves (moreover, on MacOSX, even if they decompress fine, they keep their SSW6.0.8_etc. names instead of taking the correct names, so something weird is definitely going on with these images).
Whatever the reason is, this basically means that Windows users would better stick to System 6.0.5 or ask to some friend with a Mac to decompress the files.
1.2 We need an Hard Disk where install to!
Of course, the OS disks alone are not enough: we need a place where the OS can be installed. In other words, an Hard Disk! Since MESS supports Hard Disks in .chd format (go back to the -listmedia output, if you don’t remember), we must create a .chd file. This can be created by using CHDMAN as follows
chdman -createblankhd my_macplus.chd 200 13 47
This will create an uncompressed writable Hard Disk of 60MB, named my_macplus.chd, in your MESS directory. The parameters used above can be changed (they represent cylinders, heads and sectors of the HD, respectively) and the size would change as well. However, currently the mac drivers in MESS will only access the first 20MB of the HD, due to a limitation of the Apple Formatting Program in System 6 (with an external formatting program, you might possibly use larger Hard Disks, as long as you have a single partition on them).
1.3 We need to install System 6 on the HD!
Now we are ready to launch MESS (at last) for the installation of System 6. However, before doing so, keep in mind that we are going to emulate a computer in MESS, and therefore a few remarks are in order about the keyboard:
- If we want to use the usual MAME/MESS interface (i.e. TAB to access the menu, ESC to leave, P to pause, Insert to speed-up emulation, etc.) we need to press ScrlLock. This will switch MESS from fully emulated keyboard (where e.g. P only prints a P on screen, and does not pause the emulation) to partially emulated keyboard (where P also pauses emulation)
- MESS offers Natural Keyboard mode and Emulated keyboard mode: say in our keyboard “Shift+0″ gives a “=” symbol instead of a “)” like on a Macintosh Plus; then in Natural mode, by pressing “Shift+0″ we would simply get a “=”, while in Emulated mode we would get a “)” as if pressing “Shift+0″ on the Macintosh Plus. Both modes can be useful in certain moments, so keep in mind that we can switch between the two by entering the TAB menu and choosing Keyboard Mode.
With this in mind, let’s launch
mess macplus -hard1 my_macplus.chd -flop1 "C:\path_to_my_OS_disks\System Tools.image"
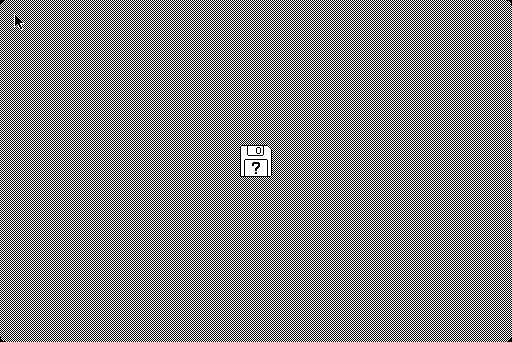
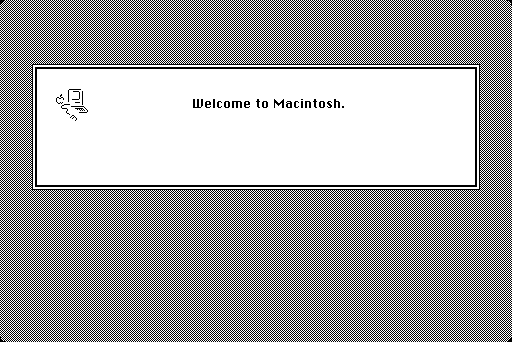
where “System Tools.image” is the first uncompressed disk, say of System 6.0.3. Then, we will finally see something better than a Floppy Disk with a question mark!

Once arrived at the “Desktop”,
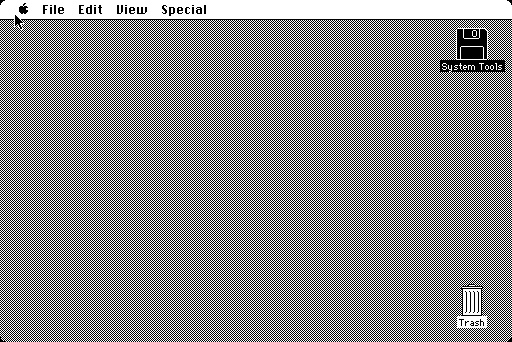
let’s open the System Tools. To open it, you can either double click on the icon, or press Command + O. Notice that, by default, Command is mapped to the left Ctrl key, if you are not using the keyboard in Natural mode, but you can remap it from the TAB menu if you want (e.g. I use AltGr on my EEEPC). Also, remember that in Natural Keyboard mode, you cannot access directly Command, so you would like to switch to Emulated Keyboard mode whenever you want to use Command (and then switch back to Natural Keyboard mode as soon as you don’t need it anymore).
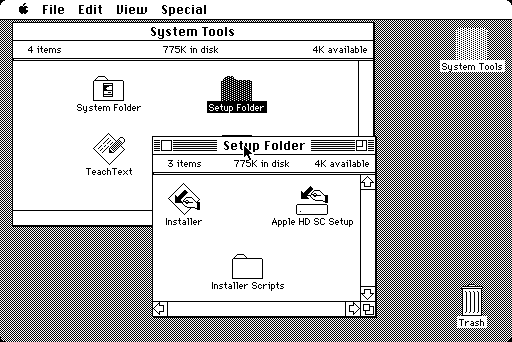
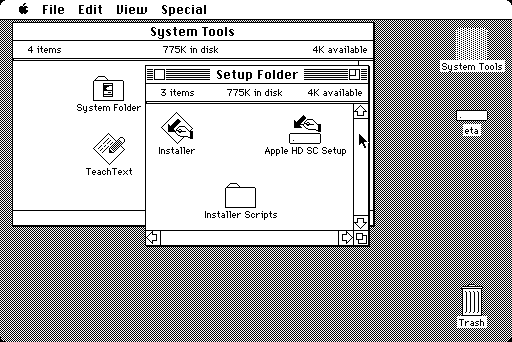
Opening the Setup Folder, we find the program we are looking for: Apple HD SC Setup, i.e. the program which can format our hard disk as System 6 requires. Opening it, we can start the HD init procedure
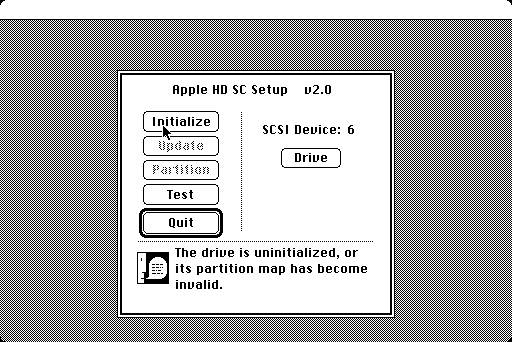
Once the procedure is completed, we are prompted back to the Desktop and now the HD is right there (right below the System Tools 😉 )
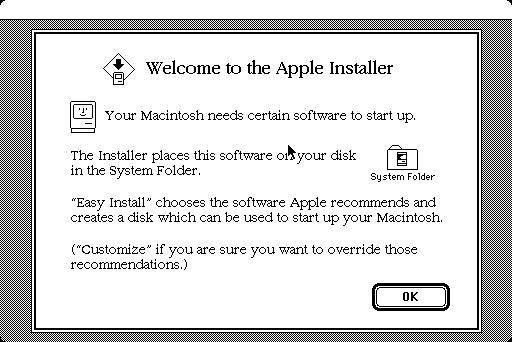
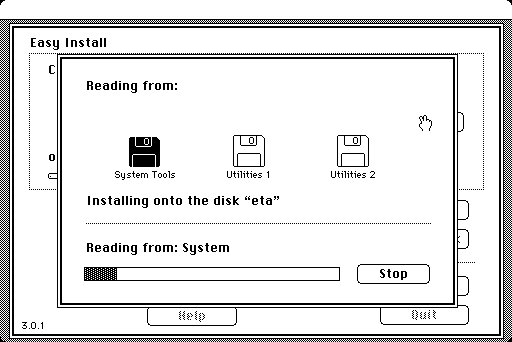
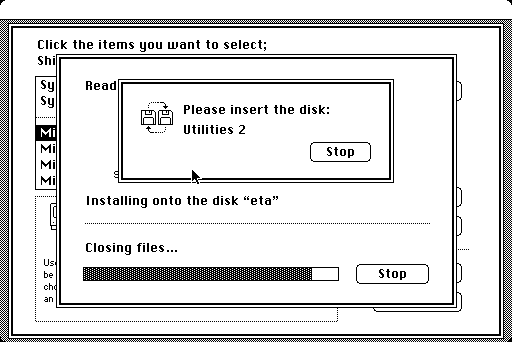
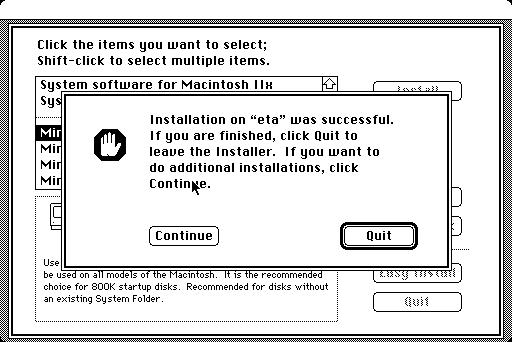
awaiting for the OS installation. Therefore, we now need to run the Installer (here the 6.0.3 version)
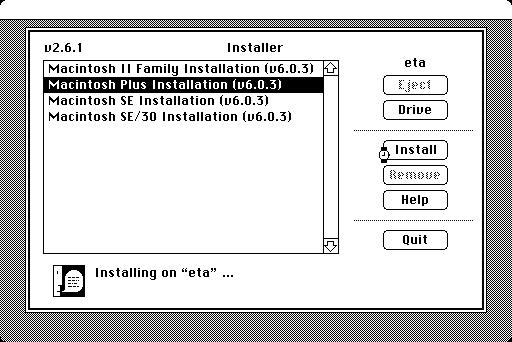
until it successfully completes and we come back to the “Desktop” and we can Shut Down the system (highly recommended after the installation).
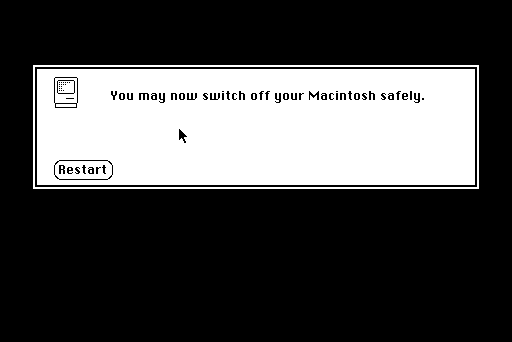
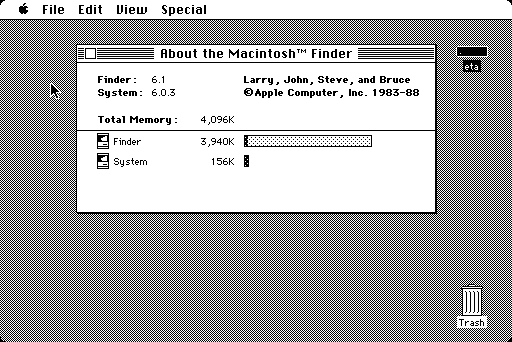
Restarting emulation with only the hard disk, we have a working Macintosh Plus with a brand new System 6.0.3 installation!
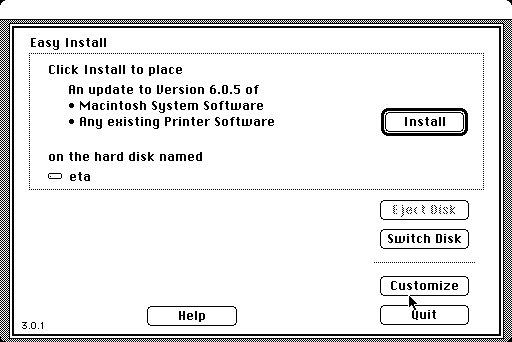
Notice, that System 6.0.5 has a slightly different Installer
and that System 6.0.8 (if you have managed to decompress it) comes without Apple HD SC Setup, so you have to init the HD with the System Tool disk of 6.0.3 or 6.0.5 and then to install 6.0.8… Probably, the easiest solution for Windows users is to simply use 6.0.5, given that in 6.0.3 some utilities might have problems.
Concerning installation options, defaults are fine for most uses. However, you might want to choose “Customize” and “System Software for Any Macintosh”, if you want to use the same HD with other (later) Apple systems in MESS.
2. How to add some programs?
2.1 Built-in software
Unfortunately, System 6.0.3 and System 6.0.5 are not very rich of software installed by default. System 6.0.8, on the other hand, offers something more, for you to play with
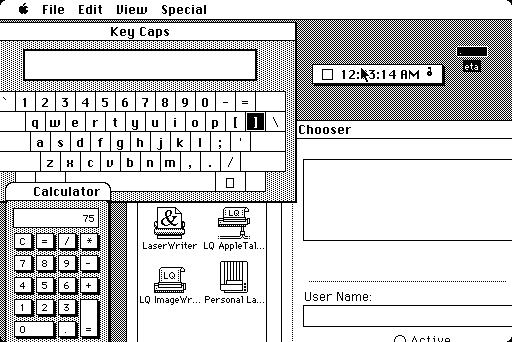
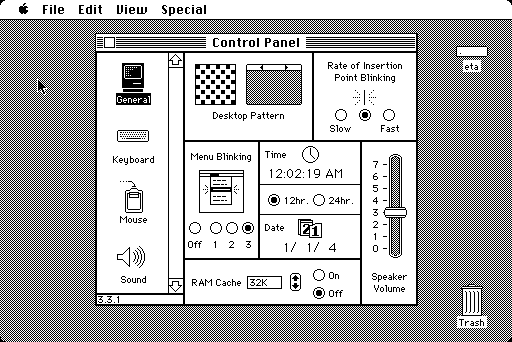
In particular, notice Key Caps, which turns out to be a very useful utility, especially if you press CapsLock during emulation in MESS and you cannot find any other way to unlock it in the emulated macplus!
2.2 External software
Of course, to really test MESS emulation, the small amount of built-in software is not enough. Then, you have to look around in the ‘net to find some old software compatible with System 6. And now things become *really* messy, even worse than with OS…
Indeed, you will soon find out that basically no original disk image can be found. The best you can find are some compressed directories containing the original programs… This is pretty bad for two reason: first, nobody seems to have thought about preserving the original media; second, it means we have to put back these compressed Mac files on a floppy while using a different OS! And dealing with Mac files on other OSes can create many headaches…
Most System 6 software I found is in either .sea.hqx.sit format or in sea.bin format. The former is a compressed BinHex archive, the latter a MacBinary archive. Both of them are quite hard to handle on any modern OS (MacOSX included), unfortunately.
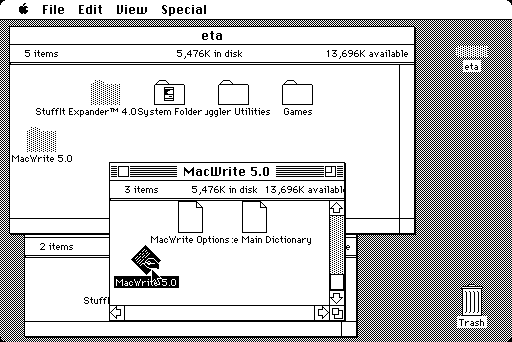
What follows is the simplest way I found to convert files containing System 6 programs into something we can use in MESS. In addition to StuffIt 9, mentioned above, two more programs are required (both can be found at Mini vMac setup page): StuffIt 4.0.1 for Macintosh and HFVExplorer. The former is simply a System 6-compatible version of StuffIt. The latter is a wonderful tool to open, create and modify Macintosh formatted floppy disks, but it’s unfortunately only for Windows. If you are running Linux or MacOSX you might want to use it through Wine, or you might take a look to HFSUtils (more details in next section).
Now, assume you are a Windows user and that you have the two mentioned tools. Then, you have to start HFVExplorer, choose “File>Format New Volume” and create a blank disk image of 400KB or 800KB (better) size. Therefore, you have to reach the directory that contains StuffIt 4.0.1 and copy the .bin file to the blank disk. Finally, closing HFVExplorer, you have a Mac disk containing StuffIt Installer (which will be fundamental to open all .hqx and .sit files in the emulated macplus).
Now, start MESS to install StuffIt on the macplus as follows:
mess macplus -hard1 my_macplus.chd -flop1 my_stuffit_disk.dsk
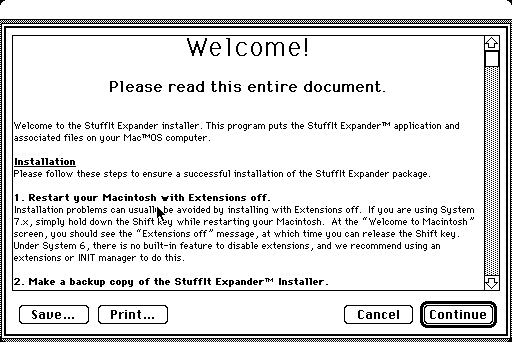
Open the Disk Drive and launch the Installer
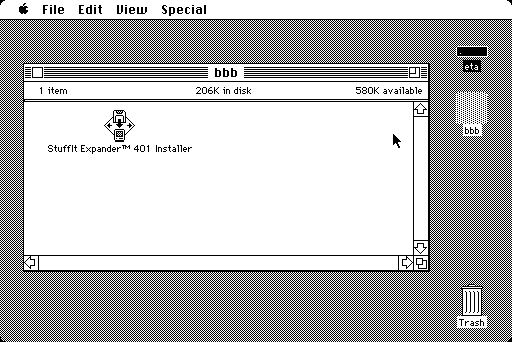
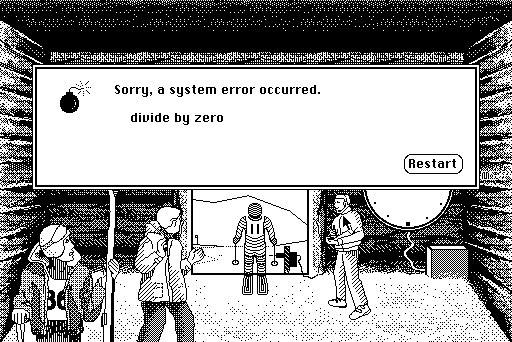
Mind that, if you have installed System 6.0.3 you will be prompted with the following
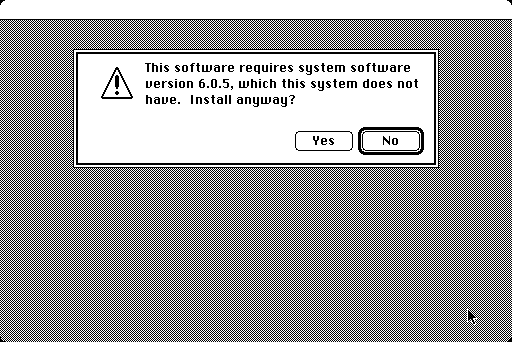
Hence, I simply suggest to use 6.0.5 or 6.0.8, so that you reach
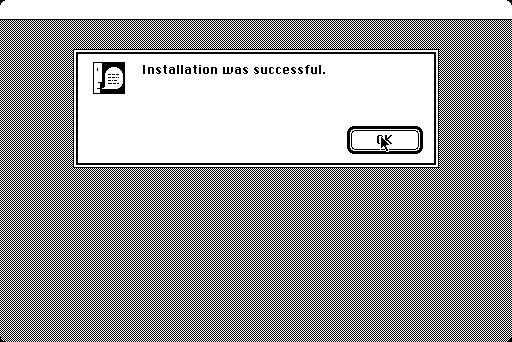
a successful completion. Now we are finally capable of “Unstuffing” files in the emulated machine, and therefore we can decompress some programs which comes as .sit.bin
But still we don’t know exactly how to put .hqx files on disks…
I have actually had many problems with these files:
- if I try to decompress them with StuffIt (both with StuffIt 9 on Windows and with the MacOSX version on my macbook) they don’t work
- if I put them as they are on a floppy with HFVExpolorer, either HFVExplorer complains about broken hqx header, or the files are not recognized by StuffIt 4.0.1 in the emulated macplus
- if I open (with an hex editor) one of the hqx files which HFVExplorer complains about, they start with the string SIT, meaning they are in fact either compressed twice (i.e. they are .sea.hqx.sit files, with .sit being an additional StuffIt compression step which gets ignored) or not BinHex-encoded anymore (i.e. they are .sea files only, even if they have kept the .hqx extension); in any case they are not .hqx files and HFVExplorer is right to complain
- even worse, in Windows many .hqx files decompress to 0KB getting somehow broken in the process…
At the end, I found out that the key point is not to decompress them! The right thing to do is to use StuffIt 9 to “Encode” them as BinHex files and then to put them on a .dsk image with HFVExplorer. If HFVExplorer says the resulting .hqx file is broken, then I go back to the original file and I use StuffIt 9 to encode it as MacBinary and most probably this time HFVExplorer will be happy. So far I haven’t found any file which would not work once re-encoded as either BinHex or MacBinary!
Once you have put some .hqx files on a disk, then you can install them on the emulated macplus! Let’s simply launch MESS
mess macplus -hard1 my_macplus.chd -flop1 my_game_disk.dsk
open StuffIt 4.0.1 and Expand the content of the disk to your main drive. Then quit StuffIt and launch the game!
Update: Justin Kerk reported that the files which HFVExplorer complains about (for broken .hqx headers) are probably failing due to a very old Mozilla/Firefox bug which causes .hqx to get “decoded” in Windows without the extension being removed. In this way, Windows and HFVExplorer think they are .hqx while they’ve been already decoded. However, the trick of re-encoding them with StuffIt 9 fixes them in any case.
2.3 Directly writing to the Hard Disk
Unfortunately, at the moment there is no way to directly write files to the HD, unless you are using Mac OSX < 10.6. Indeed, in MacOSX 10.4 and 10.5 you can
- convert the chd into a raw image with
chdman -extract my_macplus.chd output.raw - rename the resulting file as output.img (notice the .img extension)
- open and browse output.img by using MacOSX, possibly dropping files into the raw image
- unmount the image and reconvert it to .chd with
chdman -createraw my_macplus.raw my_new_macplus.chd
Using a PPC Mac with 10.4, you can even do more: you can run OS 9 in Classic then and directly run self-extracting files!
On the other hand, with Snow Leopard (MacOSX 10.6), none of the above is possible anymore. Hence, you can only move files from a Floppy Disk to the HD.
Another possibility is to use HFSUtils (which is available as a package on Fedora 12: yum install hfsutils). You can
- convert the chd into a raw image with
chdman -extract my_macplus.chd output.raw - use the command hmount to mount output.raw
- use commands like hdir and hcopy to manipulate the disk
The only problem which might affect this procedure is the issue with corrupted .hqx headers. In the worst case, it could result in files that StuffIt 4.0.1 does not recognize in the emulated macplus. Given that this is probably related to a Firefox bug, you might well not experience it, or you could try to re-download the files using wget.
The good news, though, is that the Floppy->HD transfer is only required once: as soon as the files are on a HD, you can then easily move them to another HD, without using floppies. Simply launch
mess macplus -hard1 my_macplus.chd -hard2 my_other_macplus.chd
and you will be able to move files from a .chd file to another.
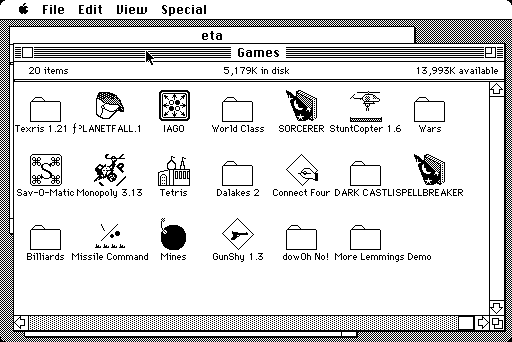
3. Can we play, now?
Yes, we can… Even if a few games do not work on a Macintosh Plus (e.g. Connect 4 and IAGO require at least a MacSE to work, or the mouse will get stuck and won’t move vertically)
Planetfall

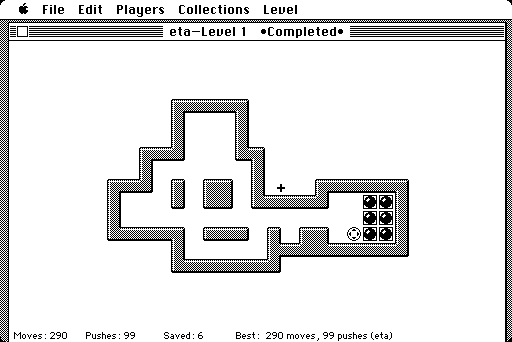
Sokoban
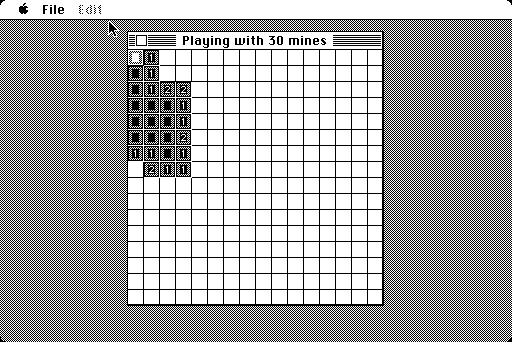
Mines
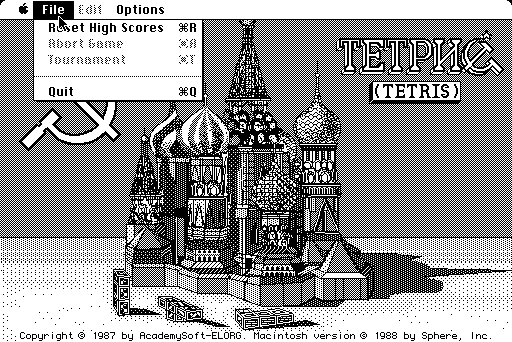
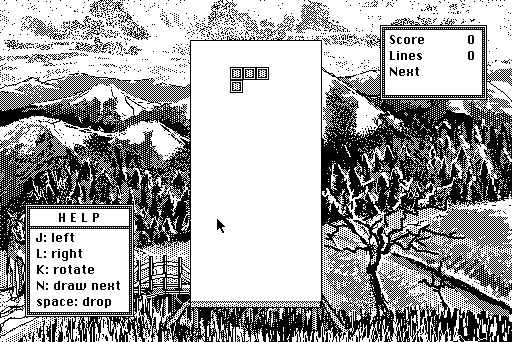
Tetris
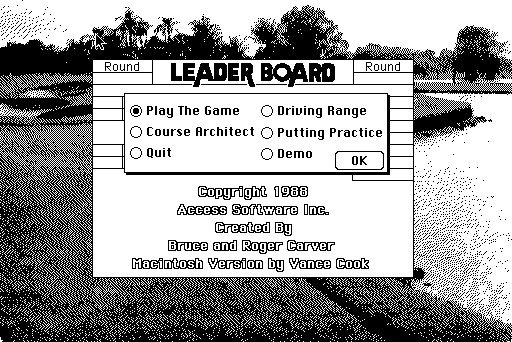
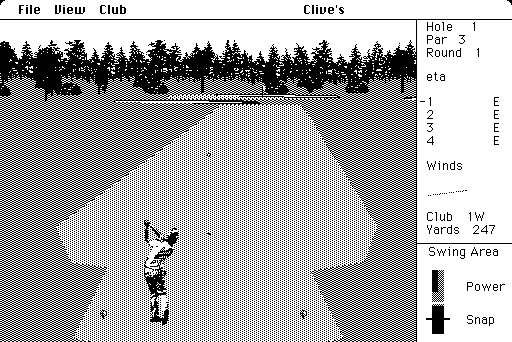
World Class Leader Board
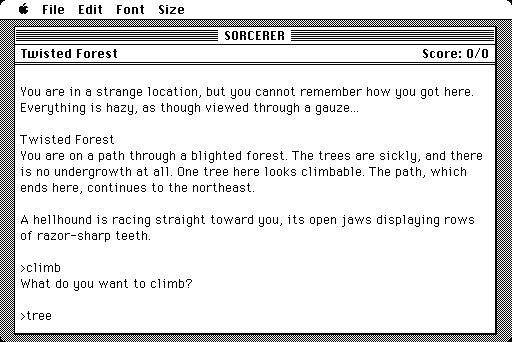
Sorcerer
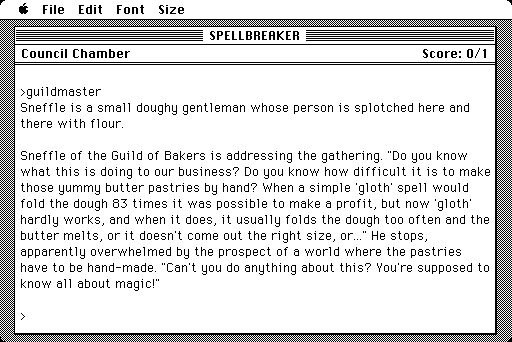
Spellbreaker
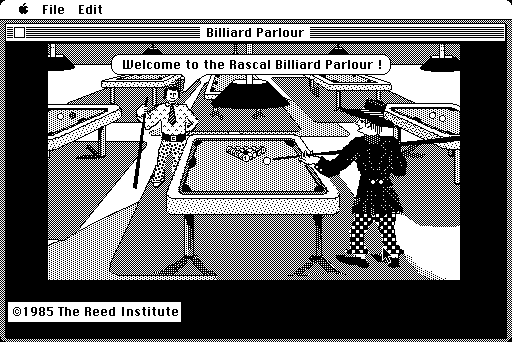
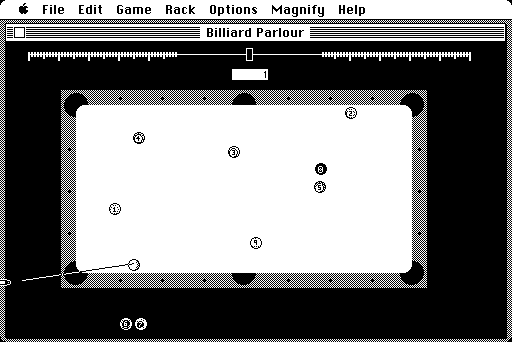
Billiard Parlour
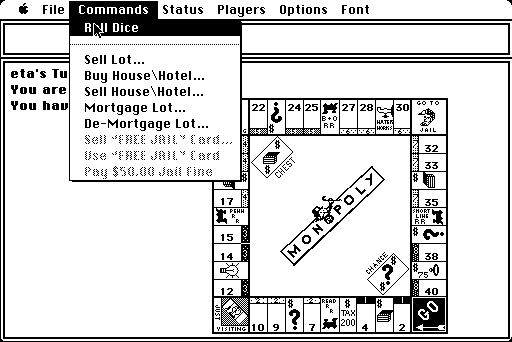
Monopoly

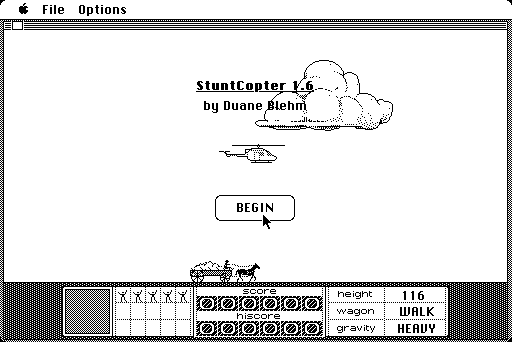
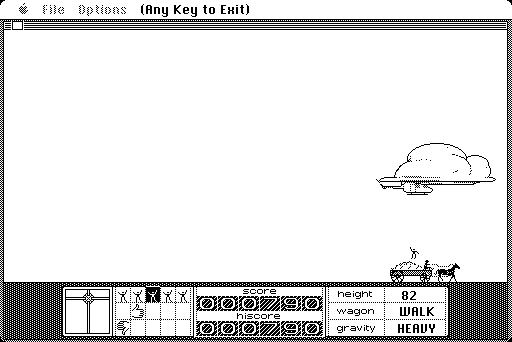
Stunt Copter
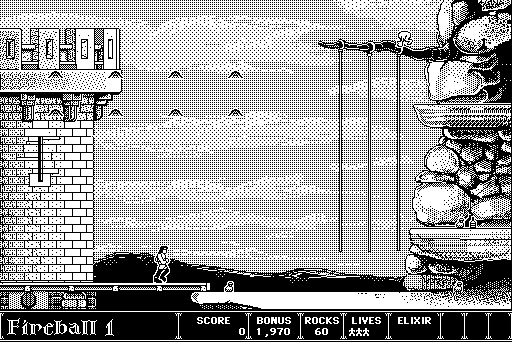
Dark Castle

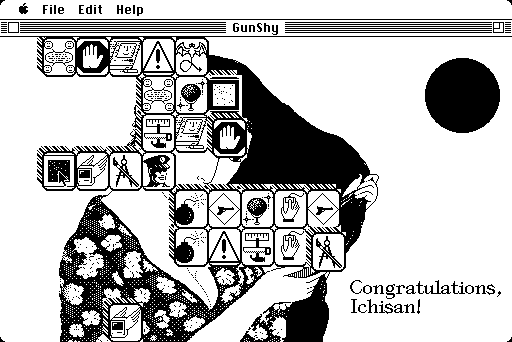
GunShy
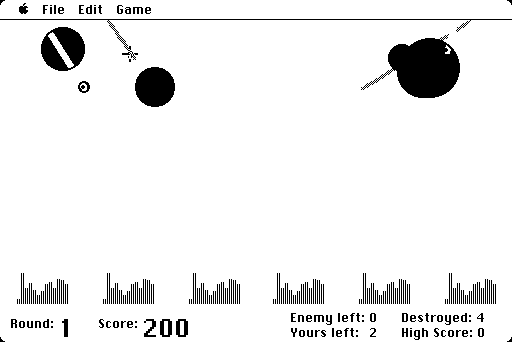
Missile Command
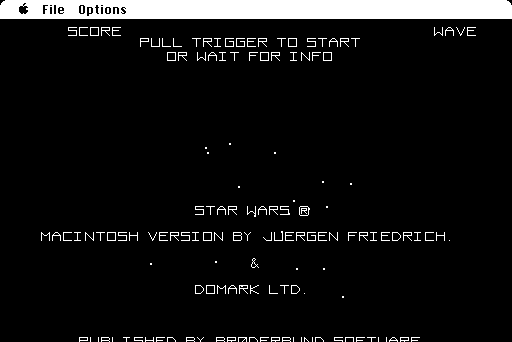
Star Wars
Oh More Lemmings (Demo)

I also found a game (Downhill Racer) which crashes the macplus, but I’m not sure it’s supposed to work on this hardware
4 Tips & Experiments
4.1 Unstuffing stuff…
First of all, I suggest to change the default StuffIt 4.0.1 settings. Namely, I suggest to let the program ask you where to unstuff the .hqx files.
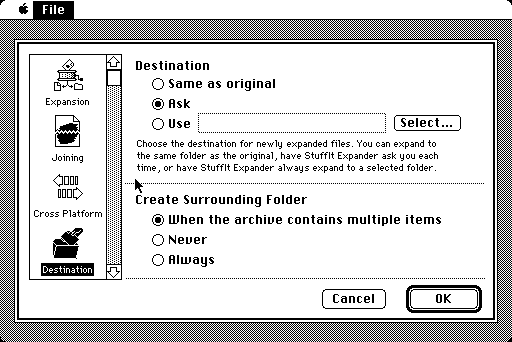
This way, you can simply select the file from the Floppy Drive and decompress it to the main drive without need of moving it in advance. When you have to decompress various files, it might be a nice trick. Also, notice the small but very useful option to decompress files in a given folder but automatically create a subfolder if more than one file is in the archive!
Moreover, I recall that one can speed up emulation by pressing Insert when the keyboard is in Partial Emulation mode. This helps a lot when you are waiting for a game to decompress.
4.2 Other drivers…
Notice that all the instructions of the howto apply to later Mac drivers, like Macintosh SE. You can also take your macplus.chd and use it in the macse driver, avoiding the need of re-installing System 6.
4.3 No hard disks…
In MESS you can also do some experiments: if you launch the macplus with no chd file, inserting a the System Tools disk in the first floppy drive and a game disk in the second (of course, containing an uncompressed game since no HD means no StuffIt 4.0.1), can you play the game?
…and at last,
That’s All, Folks!!!
Addendum: Many thanks to Sune and R.Belmont for the additional info about old Mac OSX versions and about HFSUtils, and Justin for reminding me about the Firefox bug.
Leave a Reply
You must be logged in to post a comment.